Battle calculator
Why it feels like the defender wins
One die against one die, the defender really does win more often: ties go to the defender, so the attacker needs a strictly higher number. That works out to 58% for the defender. This is where the "defending is easier" feeling comes from, and for small skirmishes it is correct.
But a full attack is not one die against one die. The attacker rolls three and keeps the best two; the defender rolls two and has to use both. Picking your best two out of three is worth more than winning ties. In a 3 vs 2 roll, the most likely outcome is that the defender loses both armies.
What happens in a single roll
Share of rolls by outcome, for every dice matchup. Blue is good for the attacker.
- Defender loses
- Each loses one
- Attacker loses
Show the numbers
| Dice | Defender loses all | Split | Attacker loses all | Attacker loss / roll | Defender loss / roll |
|---|---|---|---|---|---|
| 3 vs 2 | 37.2% | 33.6% | 29.3% | 0.921 | 1.079 |
| 3 vs 1 | 66.0% | - | 34.0% | 0.340 | 0.660 |
| 2 vs 2 | 22.8% | 32.4% | 44.8% | 1.221 | 0.779 |
| 2 vs 1 | 57.9% | - | 42.1% | 0.421 | 0.579 |
| 1 vs 2 | 25.5% | - | 74.5% | 0.745 | 0.255 |
| 1 vs 1 | 41.7% | - | 58.3% | 0.583 | 0.417 |
Big battles favor the attacker
Because every 3 vs 2 roll tilts slightly toward the attacker, the tilt adds up over a long battle. With equal armies on both sides, the attacker is the underdog in small fights and the favorite in big ones. The crossover is at five armies each.
Equal armies: how often does the attacker win?
Attacking armies = defending armies. The dashed line is a coin flip.
Show the numbers
| Armies each | Attacker wins |
|---|---|
| 1 | 41.7% |
| 2 | 36.3% |
| 3 | 47.0% |
| 4 | 47.6% |
| 5 | 50.6% |
| 6 | 52.1% |
| 7 | 53.5% |
| 8 | 54.7% |
| 9 | 55.8% |
| 10 | 56.8% |
| 11 | 57.6% |
| 12 | 58.4% |
| 13 | 59.2% |
| 14 | 59.9% |
| 15 | 60.5% |
| 16 | 61.1% |
| 17 | 61.7% |
| 18 | 62.3% |
| 19 | 62.8% |
| 20 | 63.3% |
Every battle up to 20 vs 20
Chance the attacker takes the territory. Blue: attacker favored. Red: defender favored. Hover a cell for the exact number.
How many armies do you need?
The useful question at the table is not "who is favored" but "how much do I need to bring". Here is the smallest attacking force for a given chance to win.
Armies needed to take a territory
Smallest number of attacking armies that reaches each win chance.
- 50% chance
- 75% chance
- 90% chance
Show the numbers
| Defenders | 50% chance | 75% chance | 90% chance |
|---|---|---|---|
| 1 | 2 | 2 | 3 |
| 2 | 3 | 4 | 6 |
| 3 | 4 | 5 | 7 |
| 4 | 5 | 7 | 9 |
| 5 | 5 | 8 | 10 |
| 6 | 6 | 9 | 11 |
| 7 | 7 | 10 | 13 |
| 8 | 8 | 11 | 14 |
| 9 | 9 | 12 | 15 |
| 10 | 10 | 13 | 16 |
| 11 | 11 | 14 | 17 |
| 12 | 11 | 15 | 19 |
| 13 | 12 | 16 | 20 |
| 14 | 13 | 17 | 21 |
| 15 | 14 | 18 | 22 |
| 16 | 15 | 19 | 23 |
| 17 | 16 | 20 | 24 |
| 18 | 17 | 21 | 25 |
| 19 | 17 | 22 | 26 |
| 20 | 18 | 23 | 27 |
Rule of thumb
Bring the defender's number plus three for a 3-in-4 chance, plus six or seven for 9-in-10. And avoid rolling one or two dice into two defenders: that is the only matchup where the defender's tie bonus wins out.
So should you always attack?
The dice say: when you fight, fight big, and don't trickle armies into small attacks where the defender's tie bonus does the work. They don't say that attacking is always smart. In a three-player or larger game, every army you and a neighbor lose is a gift to whoever stayed out of the fight, and cards, continent bonuses and timing matter more than one battle. Those are strategy questions, and they deserve their own simulation. That one is on our list.
How we worked this out
Classic Risk dice rules: the attacker rolls up to three dice and must leave one army behind, the defender rolls up to two, the highest dice are compared pairwise and ties go to the defender. We enumerated every possible roll for each dice matchup (7,776 for 3 vs 2) and chained them into an exact battle model in which both sides always roll the maximum number of dice. No random sampling is involved, so the numbers are exact. More on how we test.
Image credits
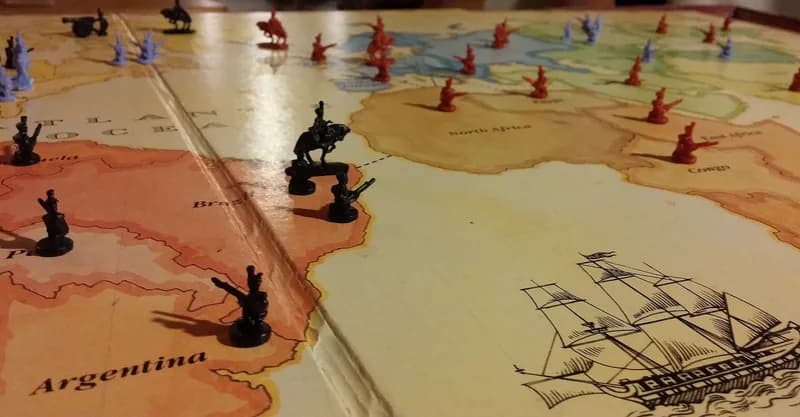
- Photo: MatsAlkmaar / Wikimedia Commons, CC BY-SA 4.0 (CC BY-SA 4.0, author MatsAlkmaar (https://creativecommons.org/licenses/by-sa/4.0)): Close-up of a Risk board mid-game with armies on South America and Africa